Tutorial Susanne
|
here you will find the original tutorials from Karin
|

|
This tutorial is dedicated to Susanne
for her sweet help testing and correcting my tutorials and fine b edition
for her sweet help testing and correcting my tutorials and fine b edition
|
You get the materials here
|
| ||
You get 2 Selections place them in the PSP Selections Folder
You will need these Plugins
MuRa`s Meister / Cloud
Alien Skin Eye Candy 5 Impact / Perspective Shadow
I used the following Colors
Color 1 #c37a2e
And
Color 2 #b5310c
You will need these Plugins
MuRa`s Meister / Cloud
Alien Skin Eye Candy 5 Impact / Perspective Shadow
I used the following Colors
Color 1 #c37a2e
And
Color 2 #b5310c

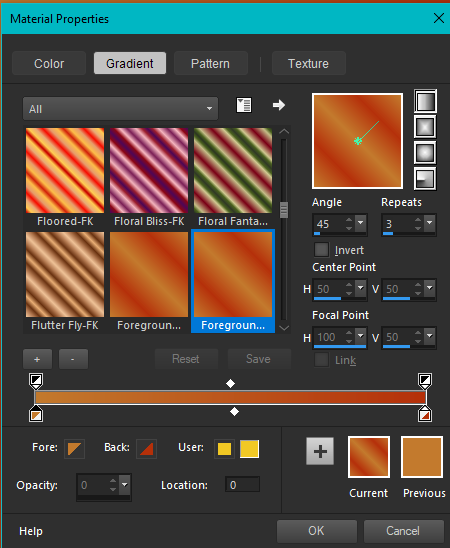
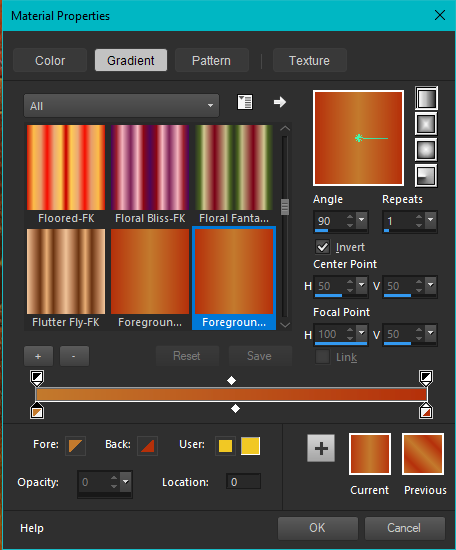
Set the Foreground Color to Color 1
and
The Background Color to Color 2
Make a Linear Gradient
(with the following settings)
and
The Background Color to Color 2
Make a Linear Gradient
(with the following settings)
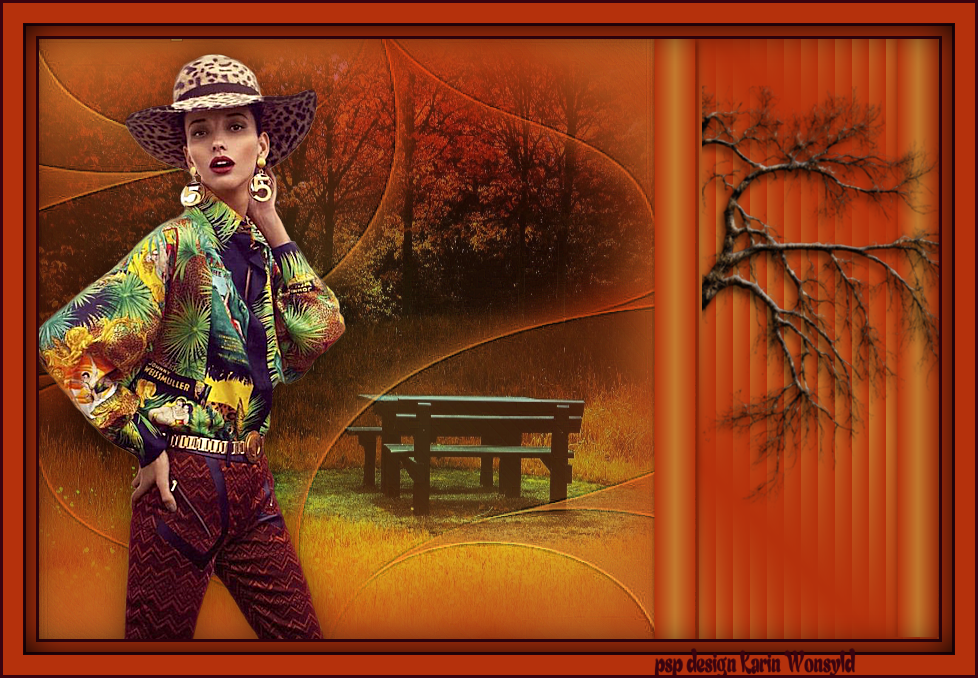
Let us begin
1
Open a New Image 900 x 600
Flood Fill with the Gradient
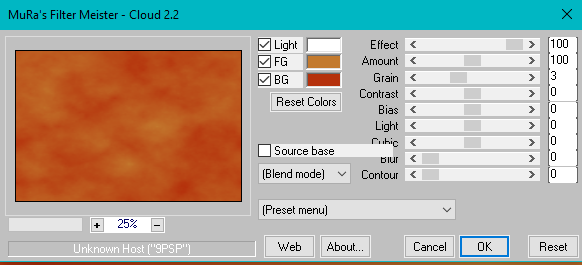
Effects / Plugins / MuRa`s Meister / Cloud
(with the following settings / default)
1
Open a New Image 900 x 600
Flood Fill with the Gradient
Effects / Plugins / MuRa`s Meister / Cloud
(with the following settings / default)
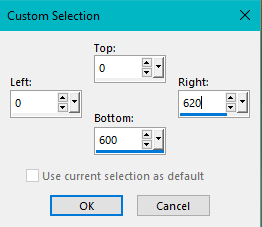
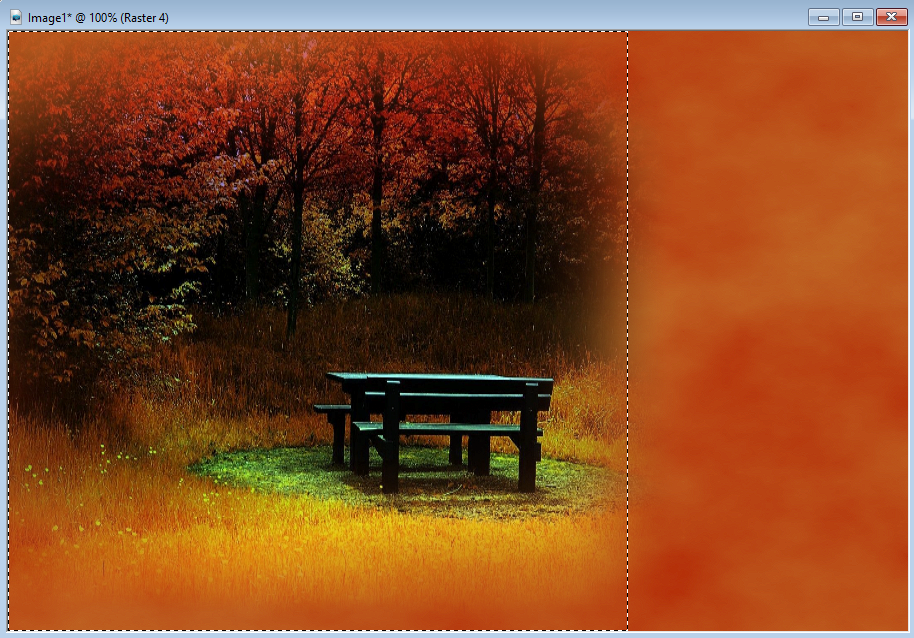
Activate the Selection Tool / Custom Selection
(with the following settings)
(with the following settings)

Open the tube ketlandscape097
Edit / Copy
Edit / Paste as New Layer
(Place as in the Example)
Edit / Copy
Edit / Paste as New Layer
(Place as in the Example)
Keep Selected
Layers / New Raster Layer
Flood Fill with the Gradient
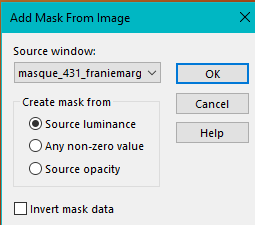
Open the Mask / masque_431_franiemargot
Layers / New Mask Layer / from Image
(with the following settings)
Layers / New Raster Layer
Flood Fill with the Gradient
Open the Mask / masque_431_franiemargot
Layers / New Mask Layer / from Image
(with the following settings)
Layers / Merge Group
Selections / Select None
Layers / Duplicate
Image / Mirror Vertical (Flip in previous versions)
Image / Mirror Horizontal (Mirror in previous versions)
Move over to the left and slightly up
(See Example)
Selections / Select None
Layers / Duplicate
Image / Mirror Vertical (Flip in previous versions)
Image / Mirror Horizontal (Mirror in previous versions)
Move over to the left and slightly up
(See Example)

Layers / Merge / Merge Down
Effects / Edge Effects / Enhance More
I took my Pick Tool and Stretched it longer, so it fit
3
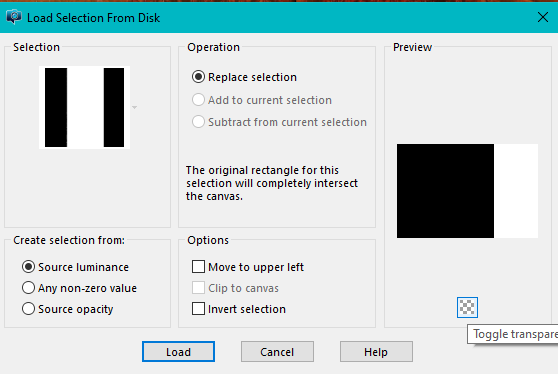
Layers / New Raster Layer
Selections – Load/Save Selection / Load Selection from Disk
Locate / sus no. 1
(with the following settings)
Effects / Edge Effects / Enhance More
I took my Pick Tool and Stretched it longer, so it fit
3
Layers / New Raster Layer
Selections – Load/Save Selection / Load Selection from Disk
Locate / sus no. 1
(with the following settings)
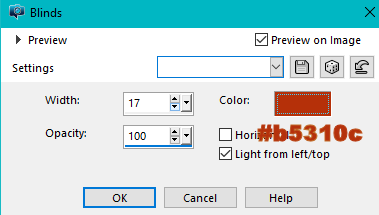
Flood Fill with the Gradient
Effects / Texture Effects / Blinds
(with the following settings)
Effects / Texture Effects / Blinds
(with the following settings)
Selections / Select None
4
Still the 2 same Colors
But change the Gradient
(with the following settings)
4
Still the 2 same Colors
But change the Gradient
(with the following settings)
Layers / New Raster Layer
Selections – Load/Save Selection / Load Selections from Disk
(same settings as Step 3)
Locate / sus no. 2
Flood Fill with the Gradient
Selections / Select None
Effects / 3d Effects / Drop Shadow 2 / 2 / 50 / 12 Black
Layers / Duplicate
Objects / Align Right or Move it over to the right
5
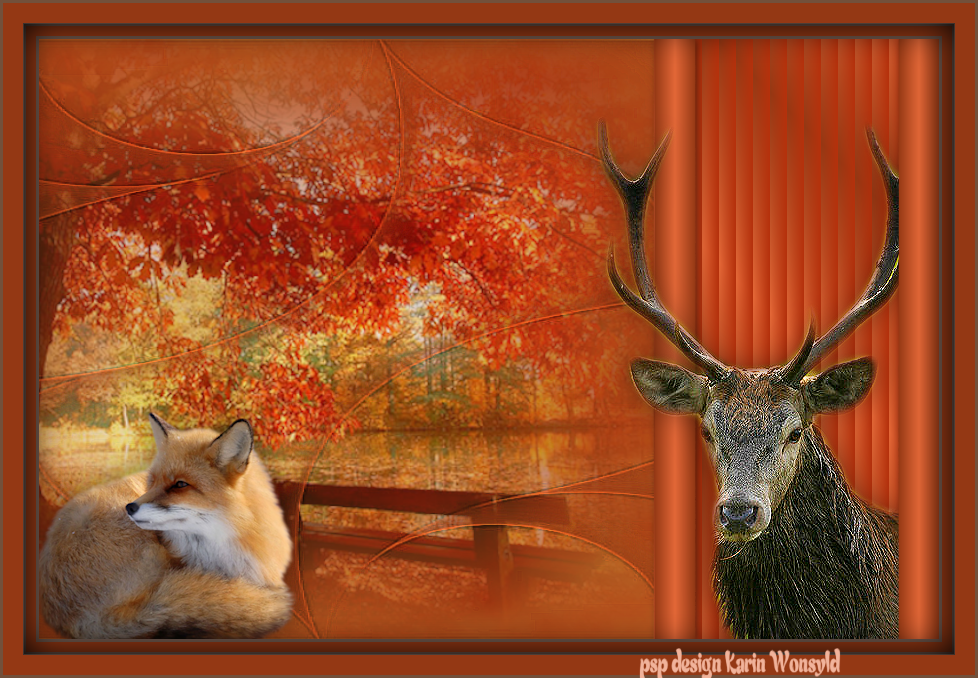
Open the Tube tree.png
Edit / Copy
Edit / Paste as a New Layer
(Place as in the Example)
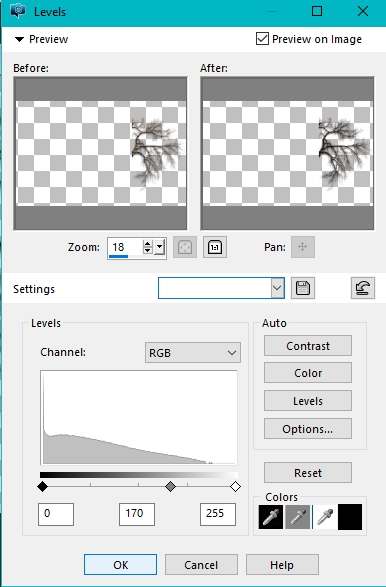
Adjust / Brightness and Contrast / Levels
(with the following settings)
Selections – Load/Save Selection / Load Selections from Disk
(same settings as Step 3)
Locate / sus no. 2
Flood Fill with the Gradient
Selections / Select None
Effects / 3d Effects / Drop Shadow 2 / 2 / 50 / 12 Black
Layers / Duplicate
Objects / Align Right or Move it over to the right
5
Open the Tube tree.png
Edit / Copy
Edit / Paste as a New Layer
(Place as in the Example)
Adjust / Brightness and Contrast / Levels
(with the following settings)
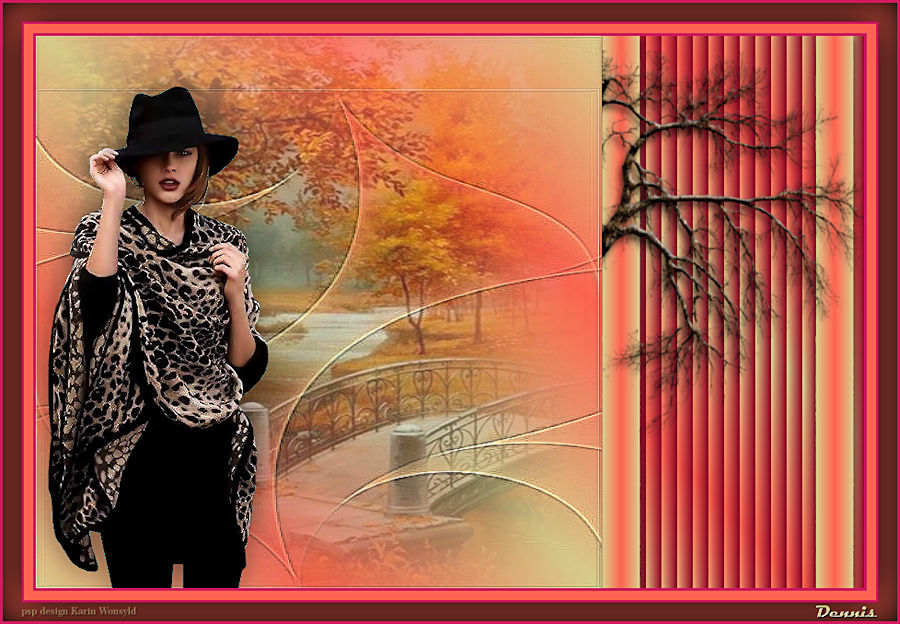
Open The tube malackatube k194
Edit / Copy
Edit / Paste as New Layer
Image / Resize 75 precent
Adjust / Sharpness / Sharpen More
And
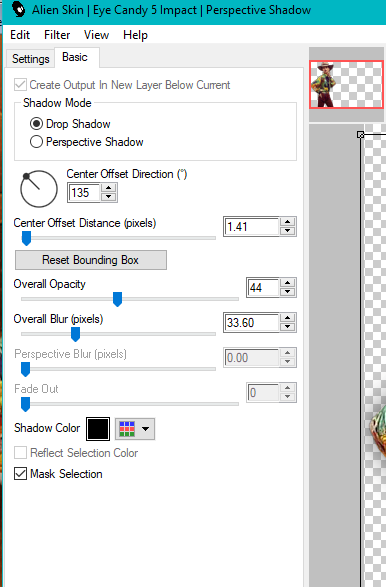
Plugins / Alien Skin Eye Candy 5 Impact / Perspective Shadow
(with the following settings)
Edit / Copy
Edit / Paste as New Layer
Image / Resize 75 precent
Adjust / Sharpness / Sharpen More
And
Plugins / Alien Skin Eye Candy 5 Impact / Perspective Shadow
(with the following settings)
7
Image Add Borders 3-pixels In Color #39030f
Image / Add Borders 10-pixels Color 2
Image Add Borders 3-pixels In Color #39030f
Image / Add Borders 20-pixels Color 2
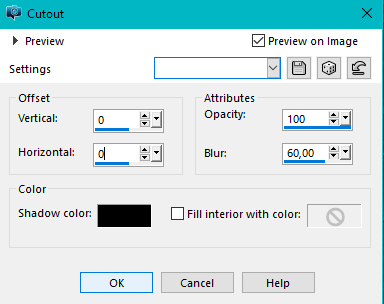
Activate the Magic Wand and Select the 20-pixel Border
Effects / 3d Effects / Cutout
(with the following settings)
Image Add Borders 3-pixels In Color #39030f
Image / Add Borders 10-pixels Color 2
Image Add Borders 3-pixels In Color #39030f
Image / Add Borders 20-pixels Color 2
Activate the Magic Wand and Select the 20-pixel Border
Effects / 3d Effects / Cutout
(with the following settings)
Selections / Select None
Image Add Borders 3-pixels Color #39030f
Add your name or watermark
Image / Save as jpg
Hugs Dennis
Image Add Borders 3-pixels Color #39030f
Add your name or watermark
Image / Save as jpg
Hugs Dennis
|
Dennis b tags
|
karin b tags
|
