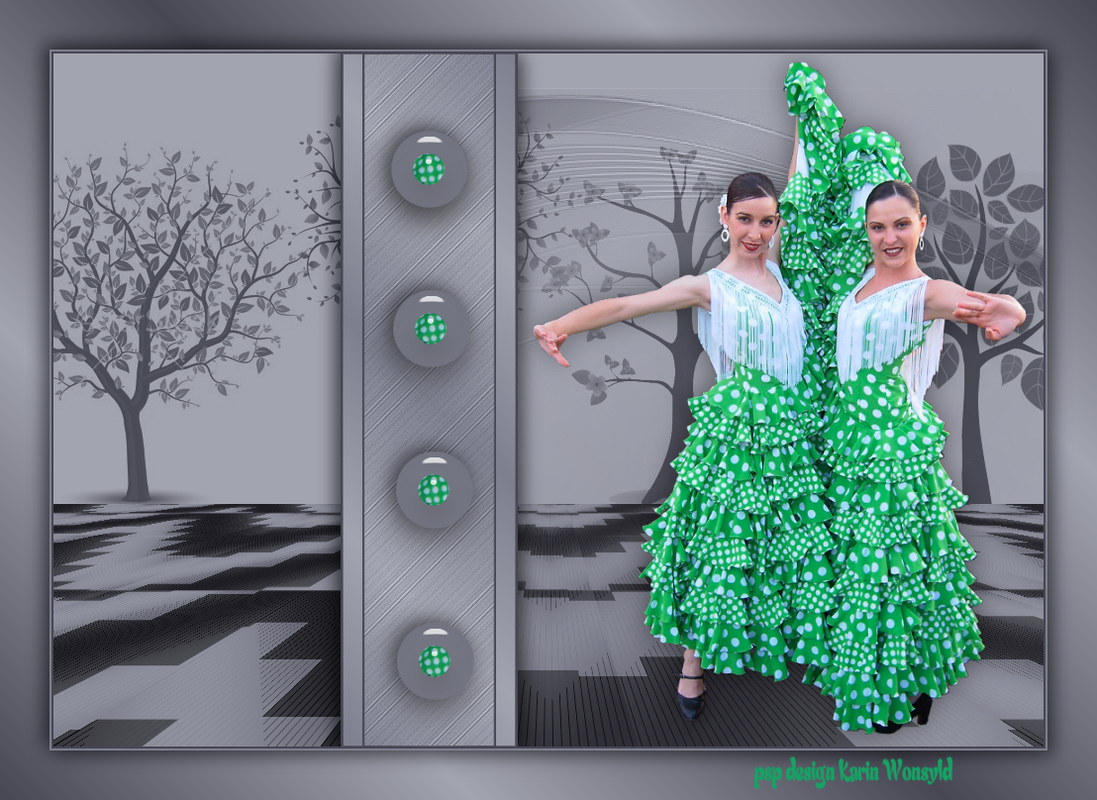
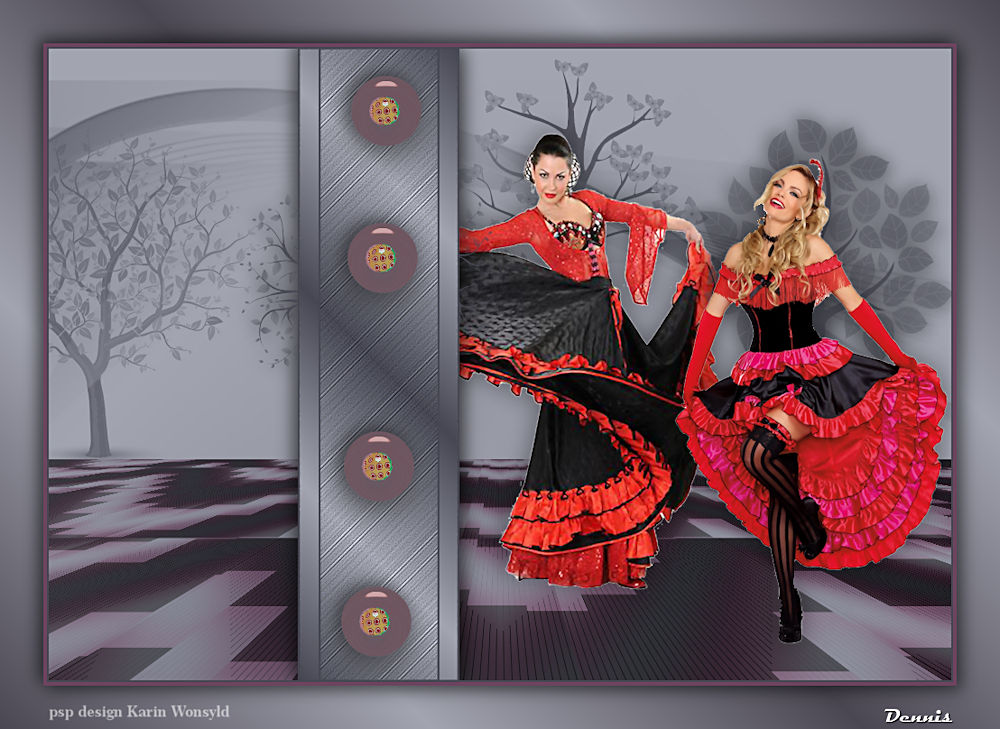
Flamingo by the Trees
|
here you will find the original tutorials from Karin
|

|
|
You get your materials here
|
| ||
You get 4 Brush’s / Open each one
File / Export / Custom Brush (name each one like mine)
Included in the Materials File
Texture Winni.Designs.cs.6b
(Place it into the PSP Texture Folder)
A selection kw flamingo by the trees
Place it in the PSP Selections Folder
I used the following Colors
Color 1 #a2a4b0
Color 2 #7d77f84
Color 3 #464752
Color 4 #ffffff

Thanks to Martha for the idea for this Tutorial
You will need these Plugins
Medhi / Wavy Lab 1.1
Filters Unlimited 2.0 / & Bkg Designer sf 10 l / Corner Half wrap
Plugins / Filters Unlimited 2.0 / Kiwi Oil Filter
Filters Unlimited 2.0 / Two Moon / Wish it would Rain
Filters Unlimited 2.0 / Two Moon / VecticalChopBlur
MuRa’s Meister / Perspective Tiling
Alien Skin Eye Candy 5 Impact / Perspective Shadow
Foreground Color 1 #a2a4b0 / Background Color 3 #4b4752
Let us begin
1
Open a New Transparent Image 1000 x700
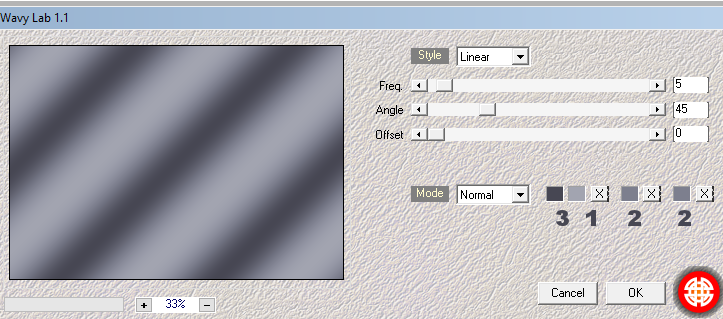
Plugins / Medhi / Wavy Lab 1.1
(with these settings)
You will need these Plugins
Medhi / Wavy Lab 1.1
Filters Unlimited 2.0 / & Bkg Designer sf 10 l / Corner Half wrap
Plugins / Filters Unlimited 2.0 / Kiwi Oil Filter
Filters Unlimited 2.0 / Two Moon / Wish it would Rain
Filters Unlimited 2.0 / Two Moon / VecticalChopBlur
MuRa’s Meister / Perspective Tiling
Alien Skin Eye Candy 5 Impact / Perspective Shadow
Foreground Color 1 #a2a4b0 / Background Color 3 #4b4752
Let us begin
1
Open a New Transparent Image 1000 x700
Plugins / Medhi / Wavy Lab 1.1
(with these settings)
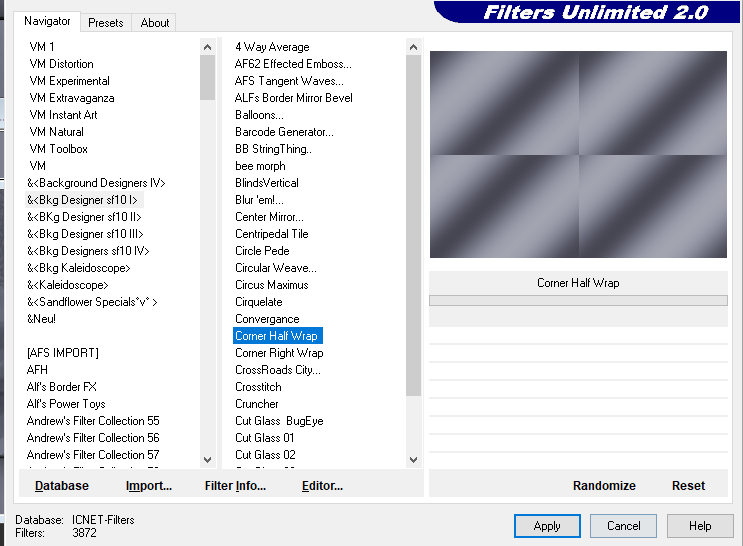
Effects / Plugins / Filters Unlimited 2.0 / & Bkg Designer sf 10 l / Corner Half Wrap
(with these settings)
(with these settings)
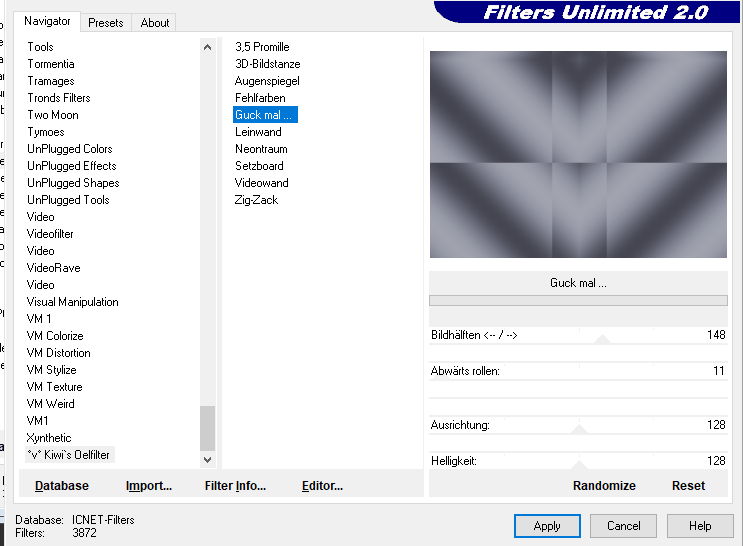
Effects / Plugins / Filters Unlimited 2.0 / Kiwi Oil Filter / Guck Mal
(with these settings)
(with these settings)
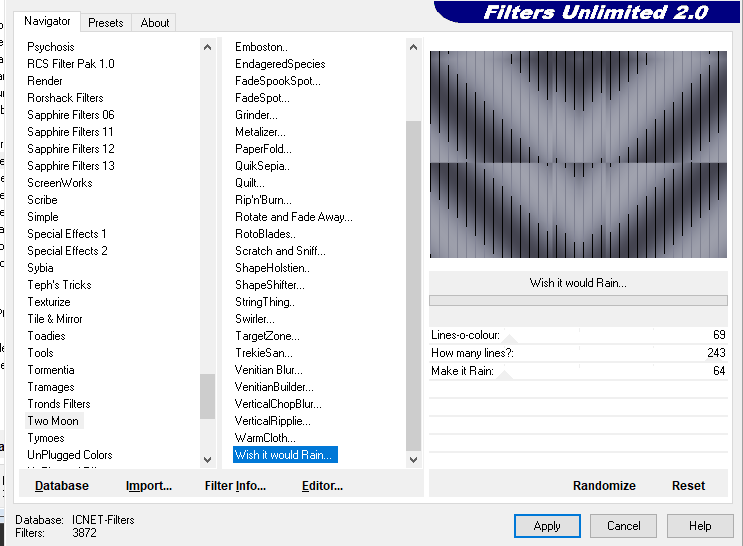
Effects / Filters Unlimited 2.0 / Two Moon / Wish it would Rain
(default settings)
(default settings)
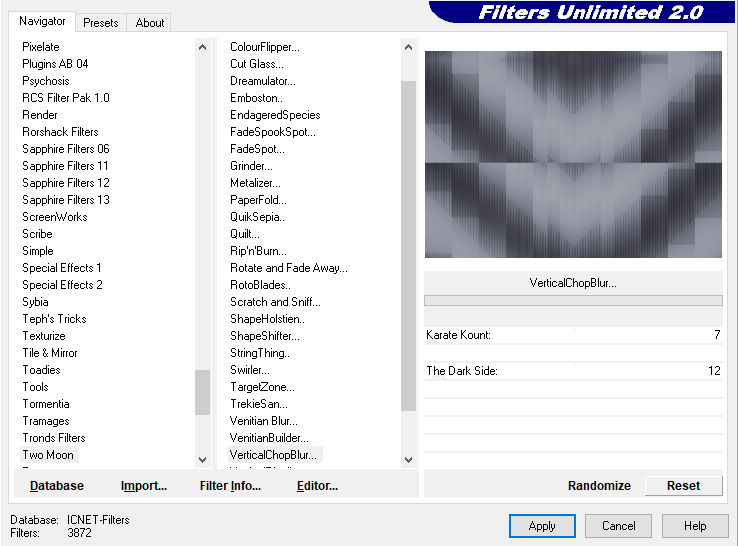
Effects / Plugins / Filters Unlimited 2.0 / Two Moon / VecticalChopBlur
(with these settings)
(with these settings)
2
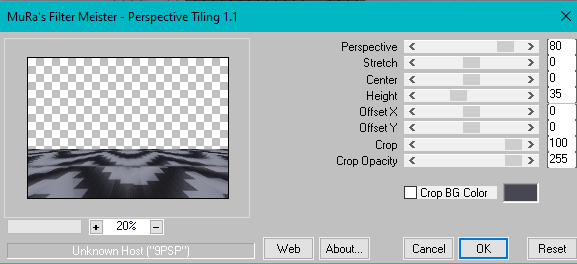
Plugins / MuRa’s Meister / Perspective Tiling
(with these settings)
Plugins / MuRa’s Meister / Perspective Tiling
(with these settings)
3
Layers New Raster Layer
Flood Fill with Color 3 #4b4752
Layers / Arrange / Send to Bottom
Activate the Top Raster Layer
4
Layers New Raster Layer
Activate the Brush Tool
Locate træ brush 1
Stamp where I have done 2 times with Color 3 #464752
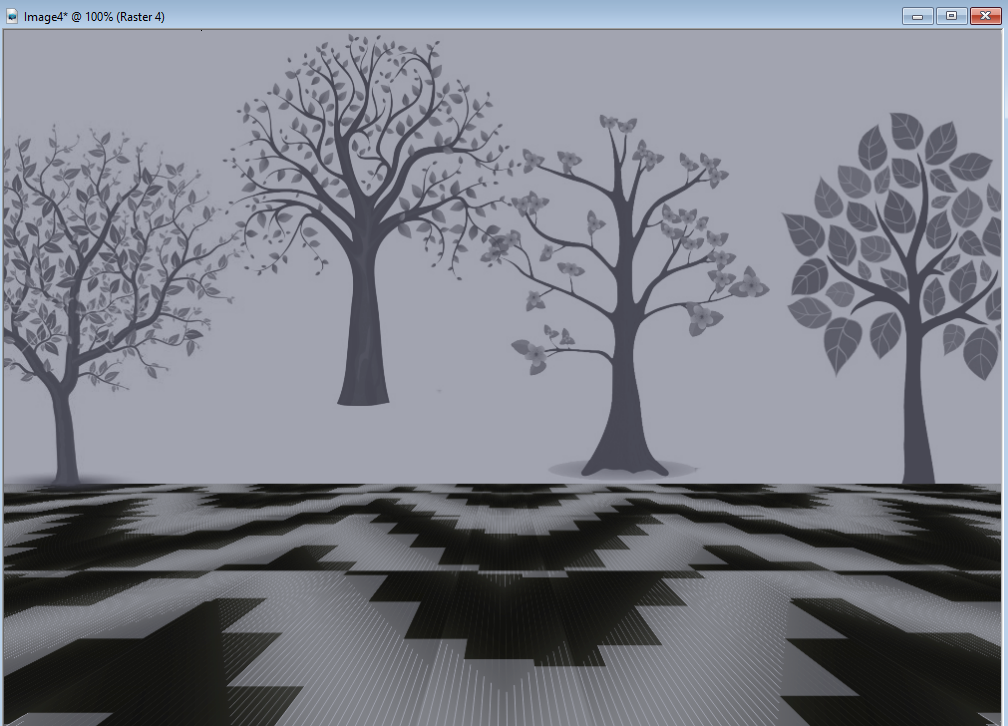
5
Repeat Step 4 but this time with the Brush træ 2
Repeat Step 4 but this time with the Brush Find træ 3
Repeat Step 4 but this time with the Brush træ 5
Now your Image looks like this
Layers New Raster Layer
Flood Fill with Color 3 #4b4752
Layers / Arrange / Send to Bottom
Activate the Top Raster Layer
4
Layers New Raster Layer
Activate the Brush Tool
Locate træ brush 1
Stamp where I have done 2 times with Color 3 #464752
5
Repeat Step 4 but this time with the Brush træ 2
Repeat Step 4 but this time with the Brush Find træ 3
Repeat Step 4 but this time with the Brush træ 5
Now your Image looks like this
6
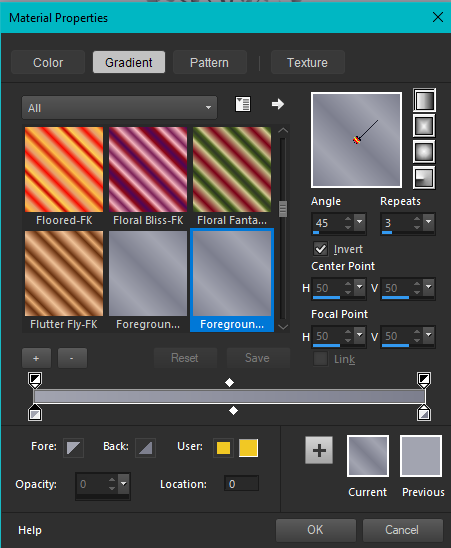
Foreground Color 1 #a2a4b0
Background Color 3 #464752
Make a Linear Gradient
(with these settings)
Foreground Color 1 #a2a4b0
Background Color 3 #464752
Make a Linear Gradient
(with these settings)
7
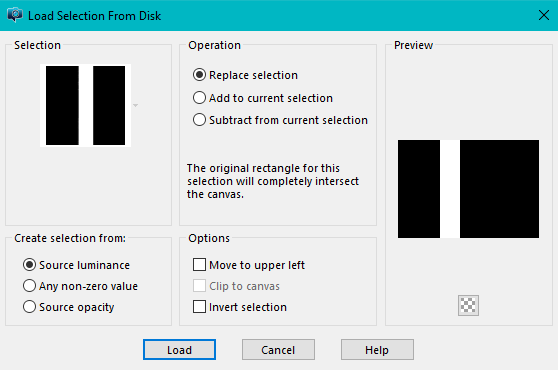
Layers New Raster Layer
Selections / Load/Save Selection / Load Selection from Disk
Locate / kw flamingo by the trees
(with these settings)
Layers New Raster Layer
Selections / Load/Save Selection / Load Selection from Disk
Locate / kw flamingo by the trees
(with these settings)
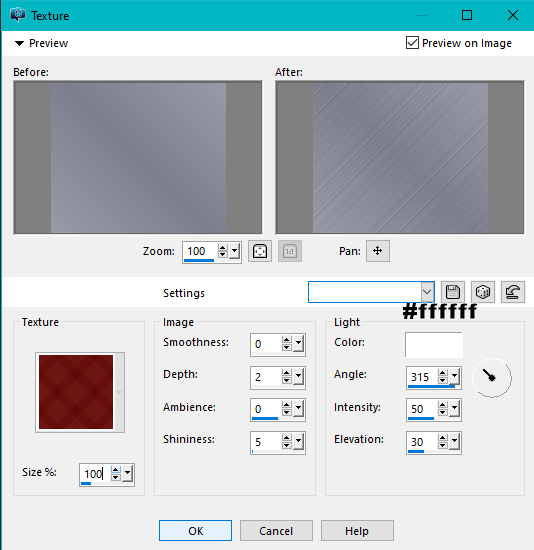
Flood Fill the Selection with the Gradient
Effects / Texture Effect / Texture / Winni.Designs.cs6b.jpeg
(with these settings)
Effects / Texture Effect / Texture / Winni.Designs.cs6b.jpeg
(with these settings)
Effects / Edge Effects / Enhance
Keep Selected
8
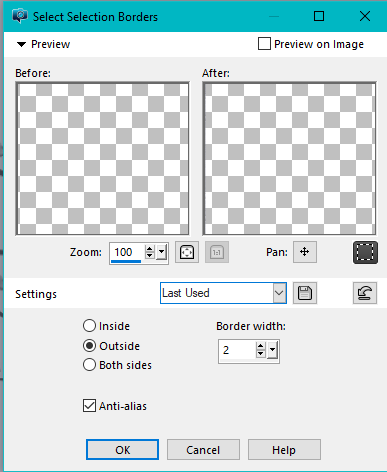
Selections / Modify / Select Selection Borders
(with these settings)
Keep Selected
8
Selections / Modify / Select Selection Borders
(with these settings)
Layers / New Raster Layer
Flood Fill with Color 3 #4b4752
Selections / Select None
Layers / Duplicate
Image / View Rulers
Activate the Pick Tool
Push together on each side so it looks like mine
(See the Example Below)
Flood Fill with Color 3 #4b4752
Selections / Select None
Layers / Duplicate
Image / View Rulers
Activate the Pick Tool
Push together on each side so it looks like mine
(See the Example Below)
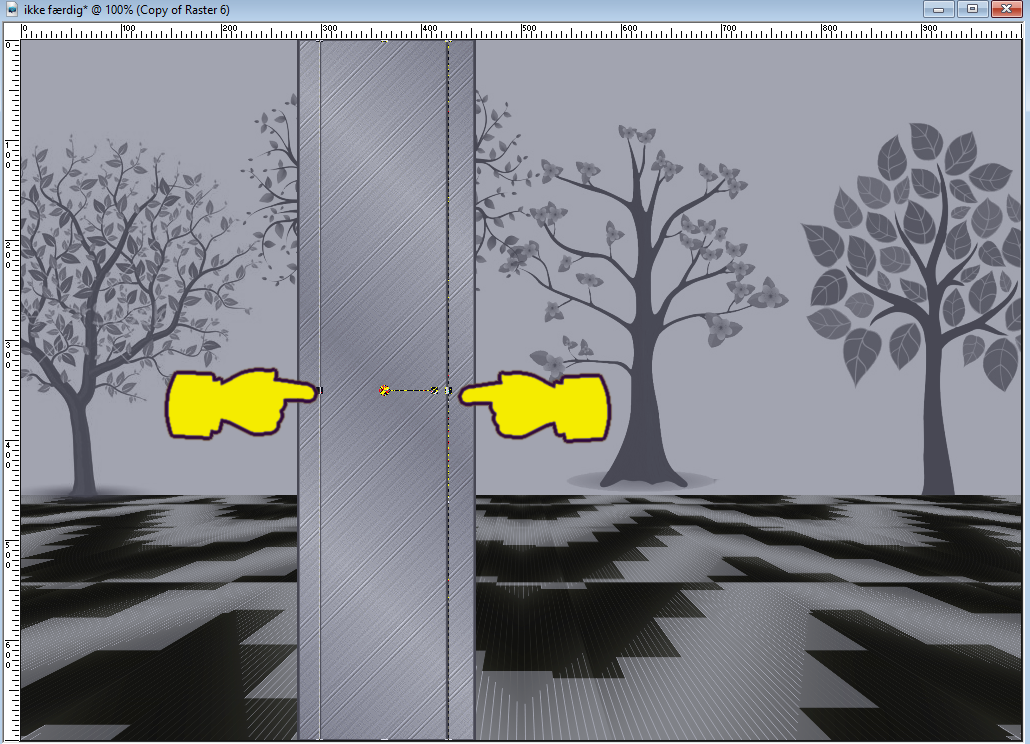
Close the Eye on all Layers but, leave the top 2 Layers open
Activate the Magic Wand and click where i show
Activate the Magic Wand and click where i show

Open the Eye on all Layers
Make sure you are on the Top Raster Layer
Flood Fill with the Gradient from Step 6 inside the 2 selection
Selections / Select None
Layers Merge / Merge Down 3x
Effects / 3d Effects / Drop Shadow / 5 / 6 / 50 / 25 Black
Repeat the Drop Shadow / /5 / /6 / 50 / 25
9
Foreground Color 1 #a2a4b0
Background Color 3 #4b4752
Make a Linear Gradient as in Step 6
Layers / New Raster Layer
Flood Fill with the Gradient
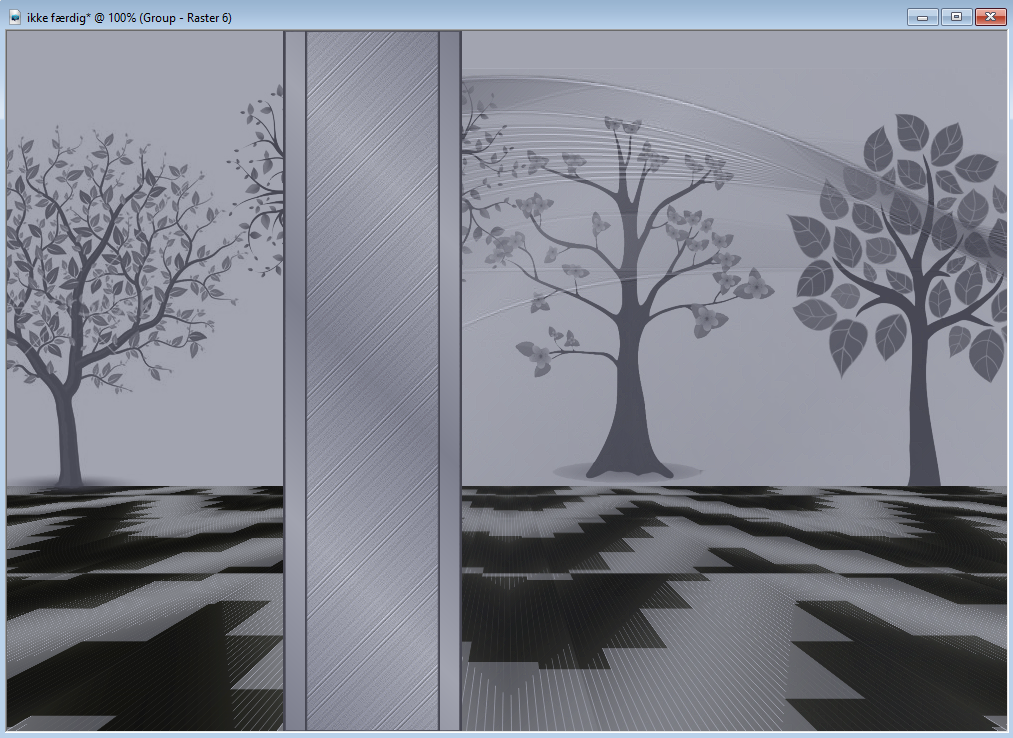
Open mask Narah_mask_0296.png
Layers / New Mask Layer from Image
(with these settings)
Make sure you are on the Top Raster Layer
Flood Fill with the Gradient from Step 6 inside the 2 selection
Selections / Select None
Layers Merge / Merge Down 3x
Effects / 3d Effects / Drop Shadow / 5 / 6 / 50 / 25 Black
Repeat the Drop Shadow / /5 / /6 / 50 / 25
9
Foreground Color 1 #a2a4b0
Background Color 3 #4b4752
Make a Linear Gradient as in Step 6
Layers / New Raster Layer
Flood Fill with the Gradient
Open mask Narah_mask_0296.png
Layers / New Mask Layer from Image
(with these settings)
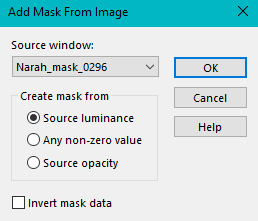
Layers / Merge / Merge Group
Layers / Arrange / Move Down
Image Mirror / Mirror Vertical (flip in previous versions)
Place as on the Example Below
Layers / Arrange / Move Down
Image Mirror / Mirror Vertical (flip in previous versions)
Place as on the Example Below
10
Open the Tube / Annytubes_Bailarines14_13_09_2011.pspimage
Edit / Copy
Edit / Paste as a New Layer
Image / Resize 90 precent
(Place as in the Example)
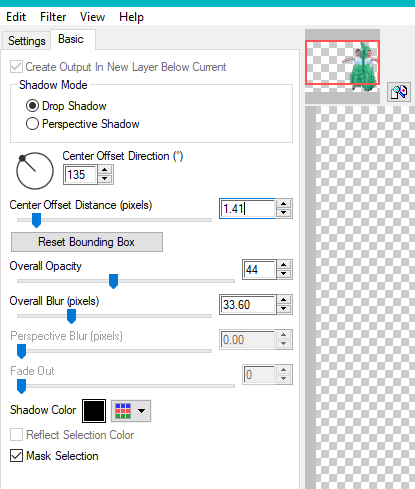
Alien Skin Eye Candy 5 Impact / Perspective Shadow
(with these settings)
Open the Tube / Annytubes_Bailarines14_13_09_2011.pspimage
Edit / Copy
Edit / Paste as a New Layer
Image / Resize 90 precent
(Place as in the Example)
Alien Skin Eye Candy 5 Impact / Perspective Shadow
(with these settings)
11
Open The Tube / kw deco fbtt 1.png
Edit / Copy
Edit / Paste as a New Layer
Effects / 3d Effects / Drop Shadow / /5 / /6 / 50 / 25 Black
Layers / Duplicate x3
Place the 4 deco as in my Example
12
Image / Add Borders 2 pixels in Color 3 #4b4752
Image / Add Borders 2 pixels in Color 2 #7d7f8f
Make a Gradient as in Step 6
Foreground Color 1 #a2a4b0
Background Color 3 #4b4752
Layers / Promote Background Layer
Image / Canvas Size
(with these settings)

Layers / New Raster Layer
Flood Fill with the Gradient
Layers / Arrange Move Down
Activate the Top Raster Layer
Effects / 3d Effects / Drop Shadow / 5 / 6 / 50 / 25 Black
Repeat the Drop Shadow this time / -5 / -6 / 50 / 25
Add your name or watermark
save as jpg
Hugs Dennis
Flood Fill with the Gradient
Layers / Arrange Move Down
Activate the Top Raster Layer
Effects / 3d Effects / Drop Shadow / 5 / 6 / 50 / 25 Black
Repeat the Drop Shadow this time / -5 / -6 / 50 / 25
Add your name or watermark
save as jpg
Hugs Dennis
|
my b tags
|
