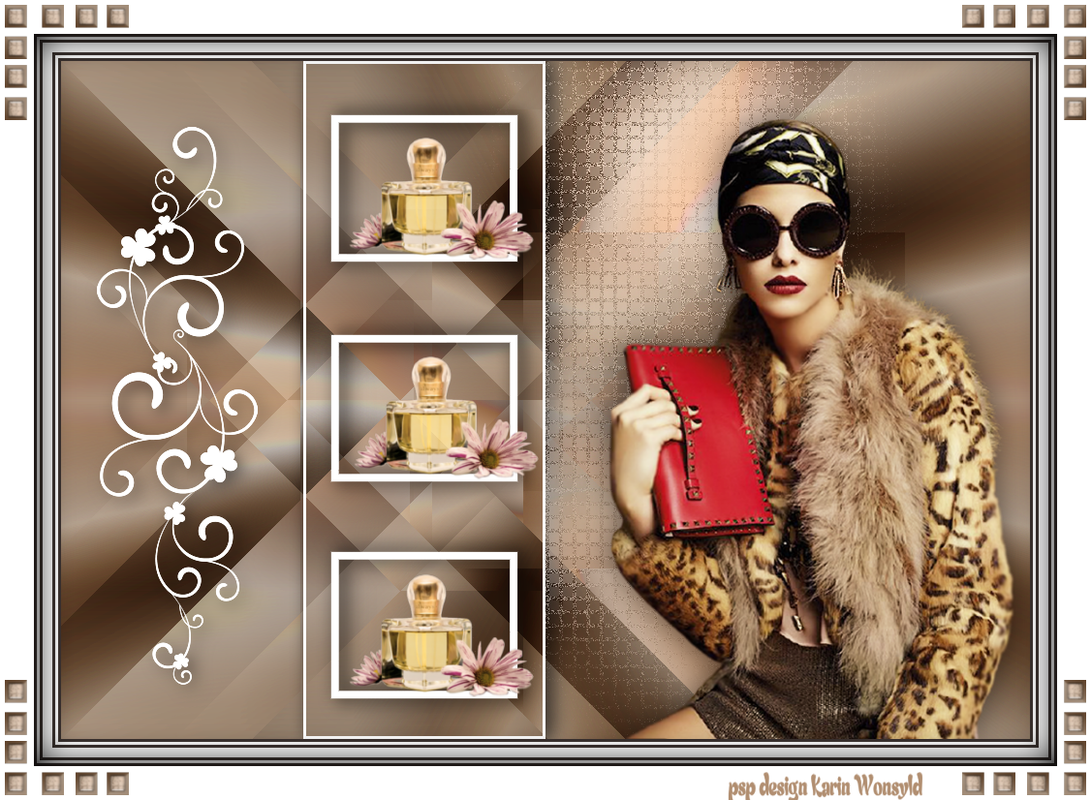
Brown Reflections
|
You can find Karin's website here
|

|
|
You get the materials here
|
| ||
you get a Selections kw Reflections
it should be in the folder my PSP file / Selections folder
I used the following Colors
Color 1 #d1bdab
Color 2 #b59579
Color 3 #6f543d
Color 4 #3c3330
White #ffffff
it should be in the folder my PSP file / Selections folder
I used the following Colors
Color 1 #d1bdab
Color 2 #b59579
Color 3 #6f543d
Color 4 #3c3330
White #ffffff

Here you can see the Colors in the Color Palette
Let us begin
1
Open a New Image 1000 x700 pixels
Plugins / Medhi / Wavy Lab 1.1
(with these settings)
Let us begin
1
Open a New Image 1000 x700 pixels
Plugins / Medhi / Wavy Lab 1.1
(with these settings)

VanDerLee / UnPlugged X / Transition (default)
(with these settings)
(with these settings)

Plugins / Filter Unlimited 2.0 / & Bkg Designer sf 10lV – Blue Berry pie
(with these settings)
(with these settings)

2
Layers / Duplicate
Effects / Plugins / Filters Unlimited 2.0 / VM / Distortion / Edge Burner (default)
Layers / Duplicate
Effects / Plugins / Filters Unlimited 2.0 / VM / Distortion / Edge Burner (default)

Layers / Properties / Blend Mode Soft Light
Layers / Merge / Merge Down
3
Open the tube kw mist blomst 28 10 10 14
Edit / Copy
Edit / Paste as a New Layer
Image / Resize 2x 85%
Image / Free Rotate / Left 90º
so you have this
Layers / Merge / Merge Down
3
Open the tube kw mist blomst 28 10 10 14
Edit / Copy
Edit / Paste as a New Layer
Image / Resize 2x 85%
Image / Free Rotate / Left 90º
so you have this

Layers / Properties / Blend Mode / Luminance (Legacy)
Adjust / Blur / Gaussian Blur 30
Effects / Texture Effects / Mosaic Antique
(with these settings)
Adjust / Blur / Gaussian Blur 30
Effects / Texture Effects / Mosaic Antique
(with these settings)

4
Stay on the Layer you are on
Activate the Selections Tool / Custom Selection
Stay on the Layer you are on
Activate the Selections Tool / Custom Selection

(with these settings)

Activate the Bottom Raster Layer
Press Delete on the Keyboard
Selections / Promote Selection to Layer
Layers / New Raster Layer
Flood Fill with #ffffff
Selections / Modify / contact set the number to 3
Press Delete on the Keyboard
Selections / Select None
Layers / Merge / Merge Down
Effects / 3d Effects / Drop Shadow / 5 / 6 / 50 / 25 Black
Repeat the Drop Shadow -5 / -6 / 50 / 25 Black
5
Activate the Top Raster Layer
Selections / Load/Save Selection / Load Selections from Disk
Locate / KW Reflections
(with these settings)

Layers / New Raster Layer
Flood Fill with #ffffff / In all 3 frames
Selections / Modify / Contact by 5
Press Delete on the Keyboard
Selections / Select None
Effects / 3d Effects / Drop Shadow / 5 / 6 / 50 / 25 Black
Repeat the Drop Shadow / -5 / -6 / 50 / 25 Black
6
Open the tube botella_ (37/50) _d (/_/) b_X_treme_pixels.pspImage
Edit / Copy
Edit / Paste as a New Layer
Image Resize 1x 65 precent
Repeat / Resize 2x 85 precent
Layers / Duplicate x2
Place in the 3 frames
7
Open the tube kw deco Reflections
Edit / Copy
Edit / Paste as a New Layer
Place as in my finished Example
Effects / 3d Effects / Drop Shadow / 5 / 6 / 50 / 25 Black
8
Open the tube 5857/ luzcristina
Edit / Copy
Edit / Paste as a New Layer
Image / Resize 90 precent
Effects / Plugins / Alien Skin Eye Candy 5 Impact / Perspective Shadow
(with these settings)

9
Image / Add Borders 3 pixels Color 4 #
Image / Add Borders 3 pixels White
Image / Add Borders 3 pixels Color 4 #
Image / Add Borders 10 pixels White
Image / Add Borders 3 pixels In Color 4 #
Image / Add Borders 3 pixels White
Image / Add Borders 3 pixels Color 4 #
Image / Add Borders 35 pixels White
Activate the Magic Wand / Select the 35/pixel Border
Selections / Invert
Effects / 3d Effects / Cutout
(with these settings)
Image / Add Borders 3 pixels Color 4 #
Image / Add Borders 3 pixels White
Image / Add Borders 3 pixels Color 4 #
Image / Add Borders 10 pixels White
Image / Add Borders 3 pixels In Color 4 #
Image / Add Borders 3 pixels White
Image / Add Borders 3 pixels Color 4 #
Image / Add Borders 35 pixels White
Activate the Magic Wand / Select the 35/pixel Border
Selections / Invert
Effects / 3d Effects / Cutout
(with these settings)

Selections / Select None
Open the tube kw deco 1 Reflections
Edit / Copy
Edit / Paste as a New Layer
Place In the Upper Left Corner
Plugins / Filters Unlimited 2.0 / Simple / Top Left Mirror
Add your name or watermark
Save as jpg
hugs Dennis
Open the tube kw deco 1 Reflections
Edit / Copy
Edit / Paste as a New Layer
Place In the Upper Left Corner
Plugins / Filters Unlimited 2.0 / Simple / Top Left Mirror
Add your name or watermark
Save as jpg
hugs Dennis
